- Lawn & Garden
- SPECIALS
- WHATS NEW !
- Lawn Mowers
- Blowers, Vacuums and Sweepers
- Chainsaws
- Line Trimmers and Brush Cutters
- Chippers and Shredders
- Combi & Multi Systems
- Engines
- Hedge Trimmers
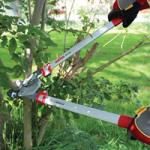
- Garden Hand Tools
- Horticultural Equipment
- Lawn Edgers
- Log Splitters
- Rotary Hoes and Tillers
- Sprayers and Mistblowers
- Turf Care Equipment
- Waterblasters
- Used Equipment & Demo Units Etc
- Wood Fires & BBQs
- Commercial & Construction
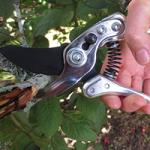
- Pruning & Horticulture
- Cordless
- Accessories & Spares
- Lawn Mower Parts
- Rider Mower Parts
- Chainsaw Parts and More
- Brush Cutter Parts and More
- Blower and Vacuum Parts
- Toys, Go Karts & Promo Items
- BBQ Accessories and Parts
- Wood Fire Parts and More
- Sharpening Tools
- Chipper / Shredder Parts and More
- Waterblaster Parts and More
- Safety Equipment and Clothing
- Sprayer Parts and More
- Lawn Edgers
- Workshop Tools